
Download: Webamp Uploader

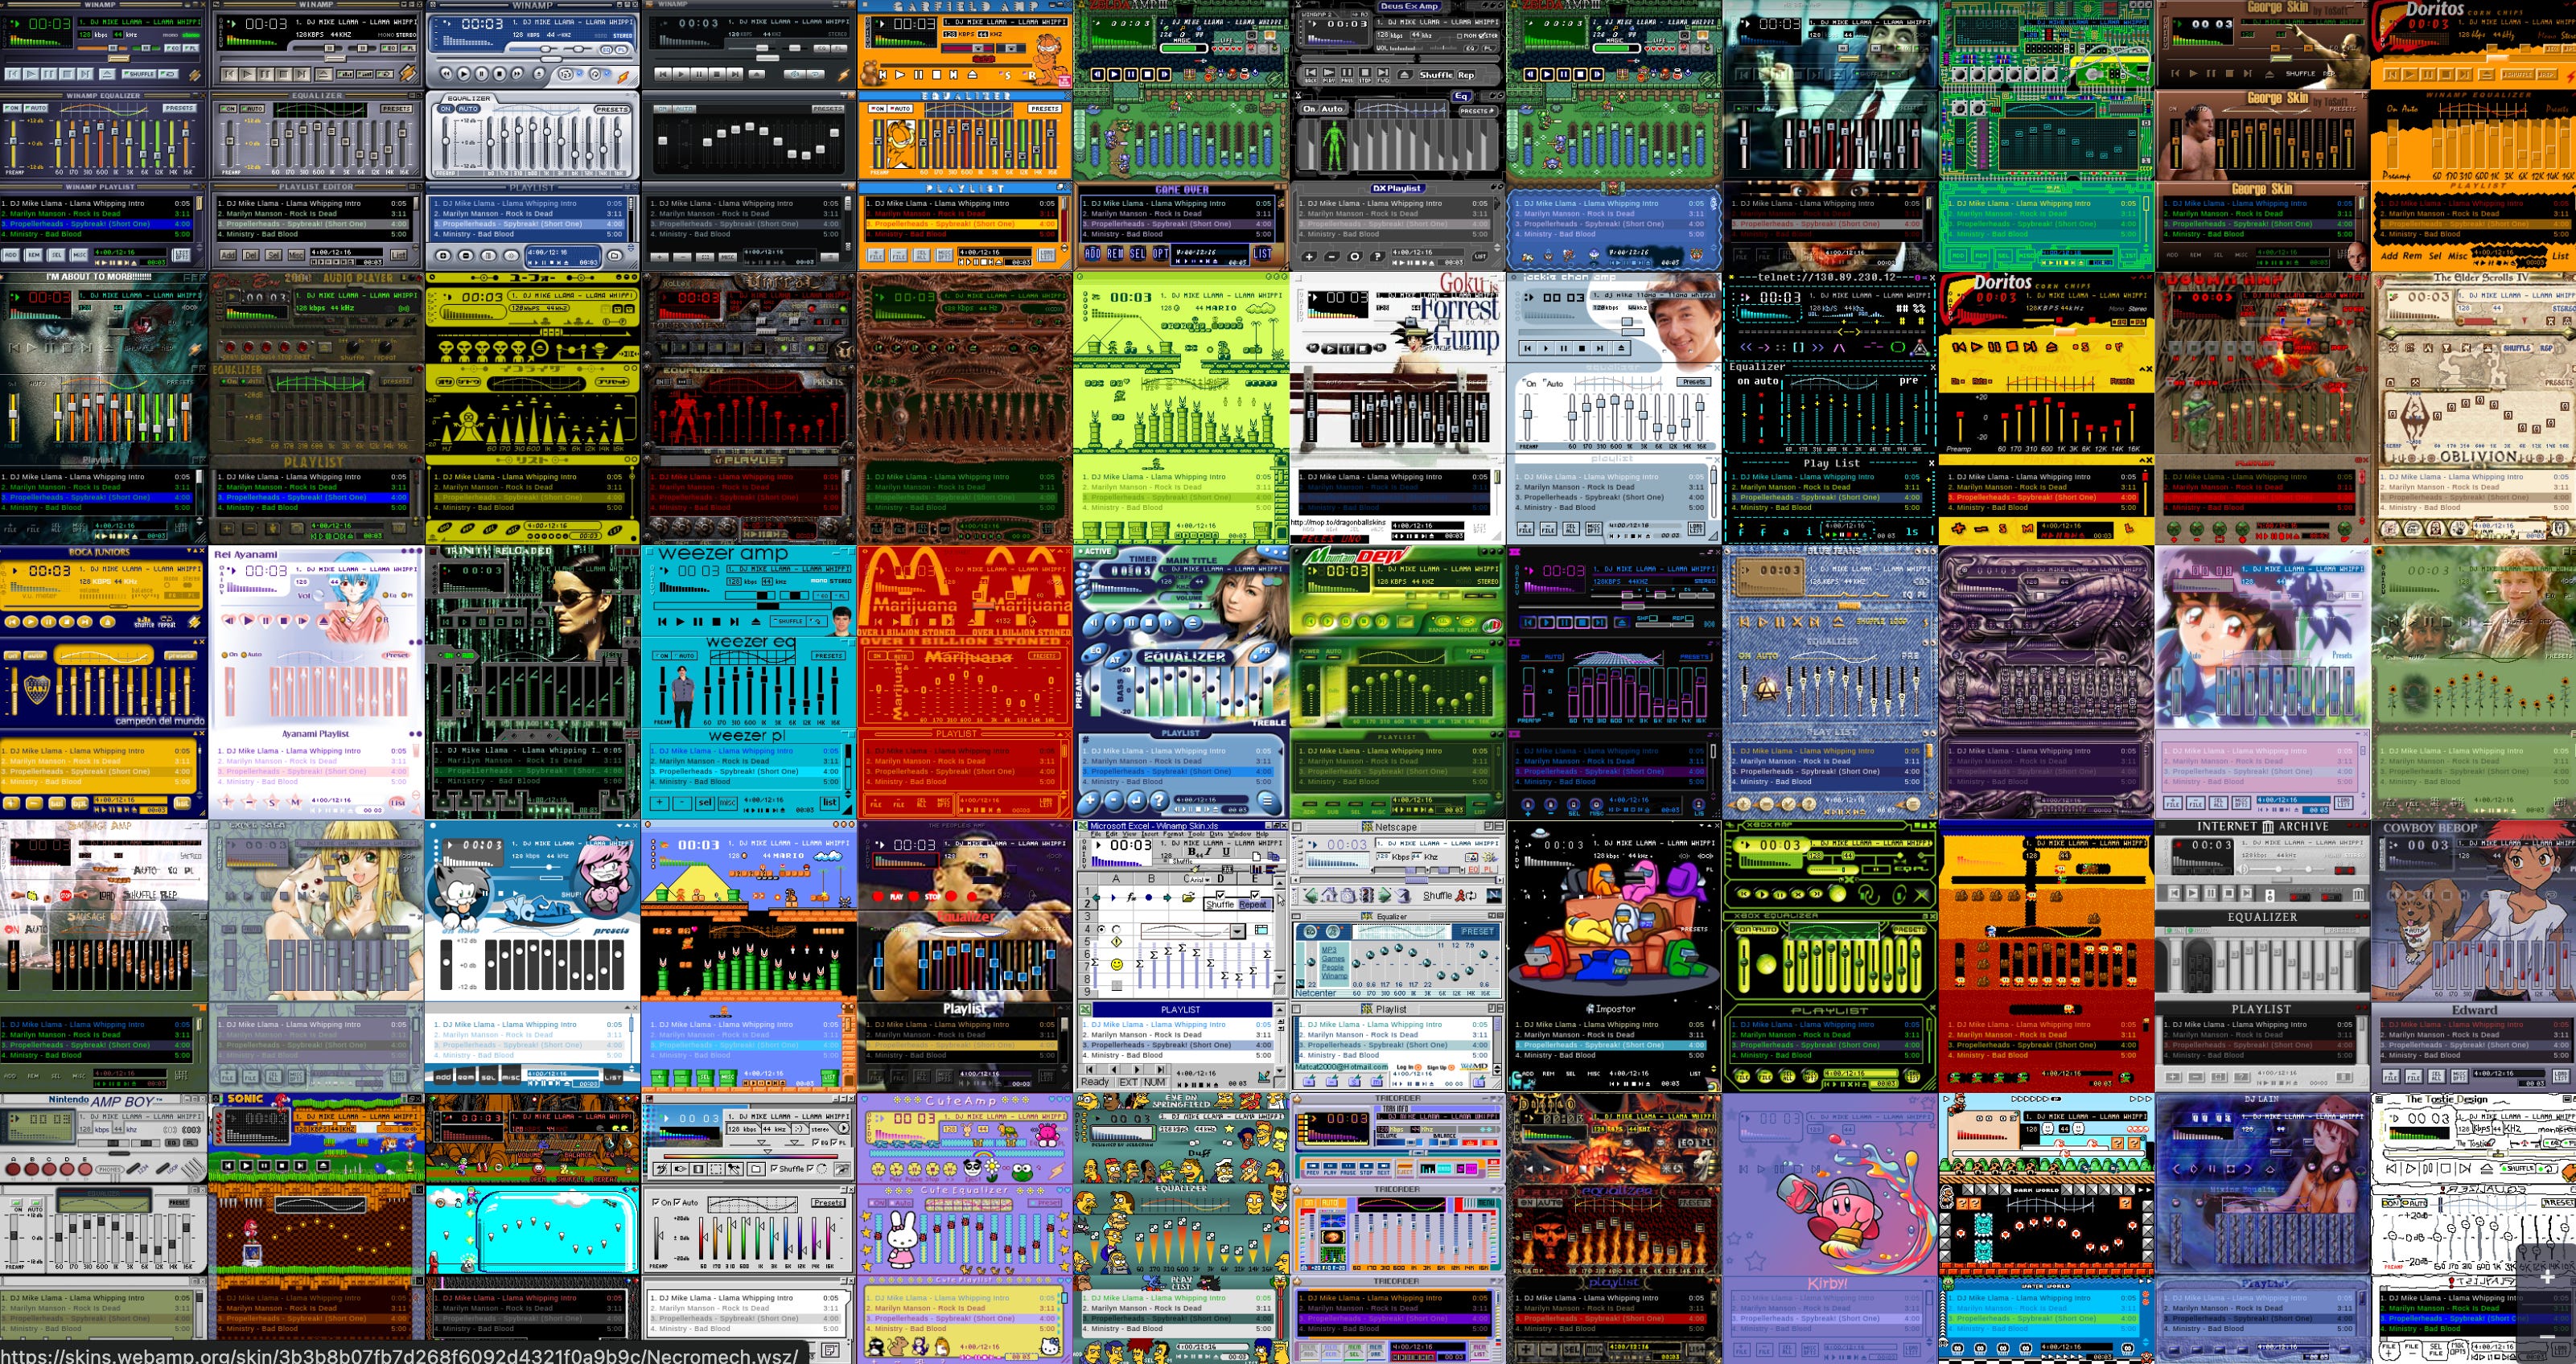
As a UX designer and music lover, few things embody their overlap as much as Winamp. For the yute reading this that aren’t familiar, Winamp was a desktop music player that was famously customizable and skinnable. The skins came in all shapes and sizes. Some were far mor advanced than others with modes and states that hid and revealed equalizers, visualizers, playlists, and more:
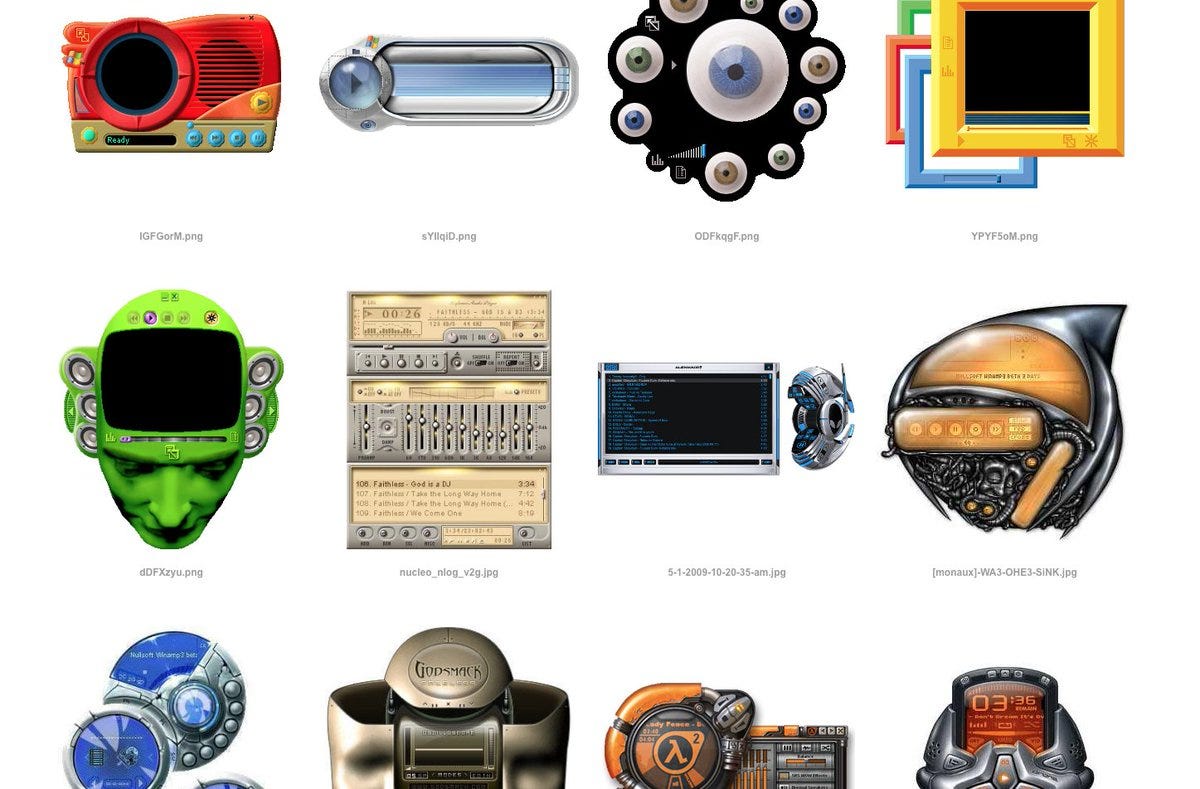
Classic Winamp skins collected by Edouerd
Users from all over the web would create and upload Winamp skins that you could add to your library and switch for vibes. Rarely was a piece of software of the era - or since - this expressive, open source, and fun.
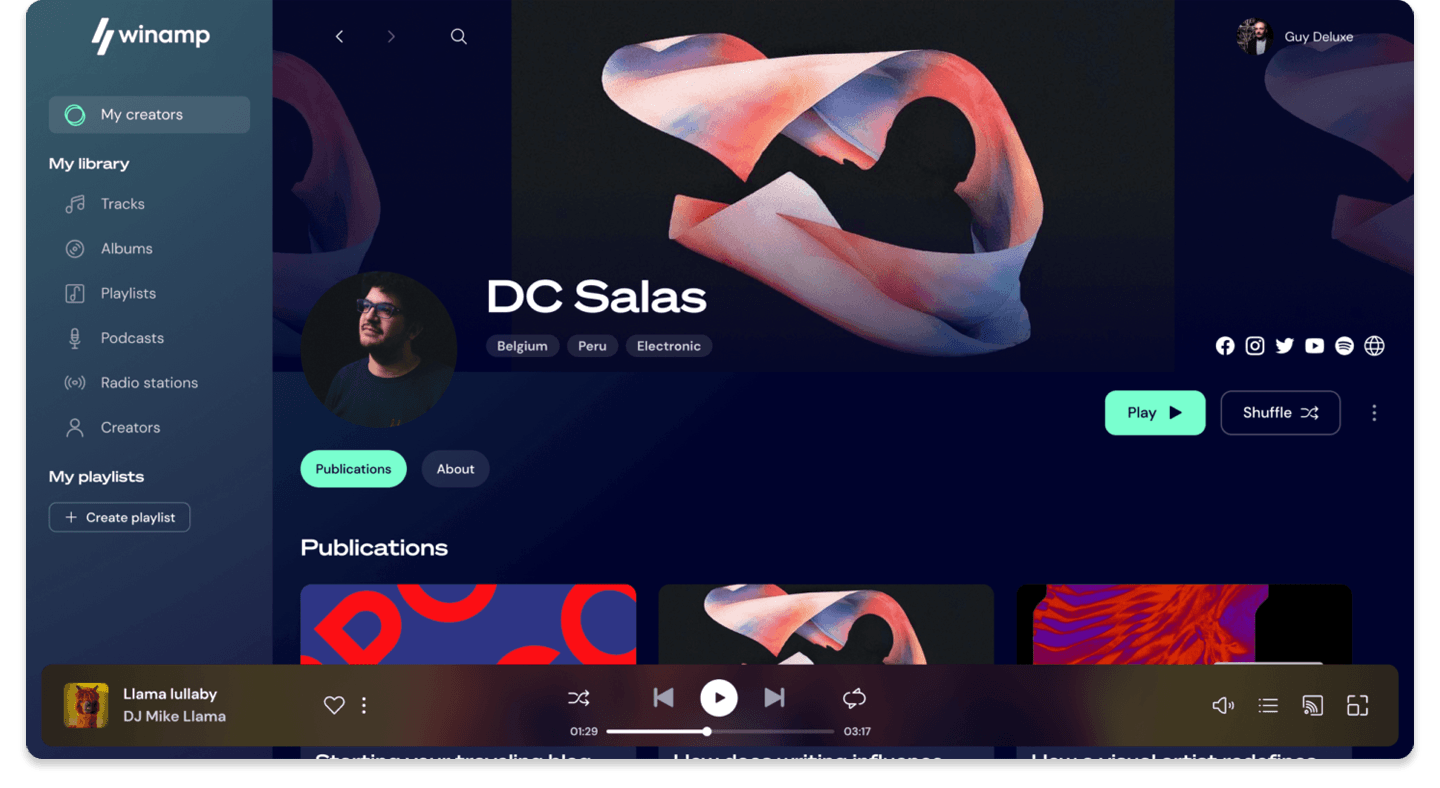
Eventually, Winamp would give way to streaming and be replaced by apps like Spotify and iTunes. Mac OS either doesn’t run it or doesn’t like to. These days, if you download the current Winamp, it’ll look like anything else you’ve ever used:
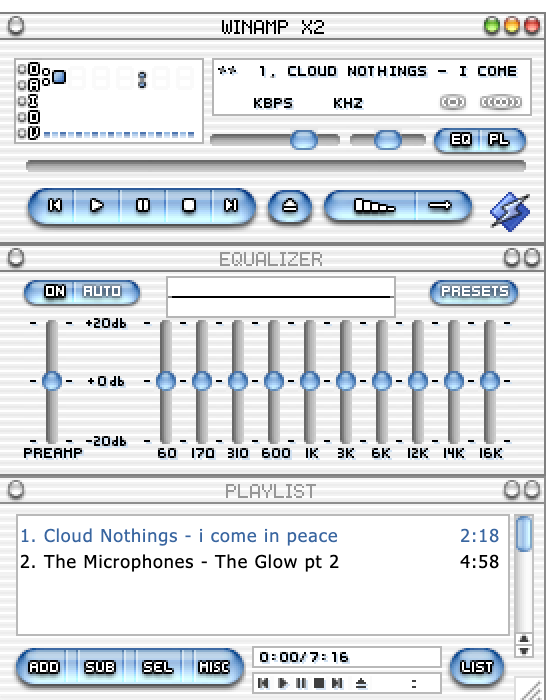
Users lamented the unique skins, community-driven designs, and nostalgic look of Winamp enough to resurrect it for the web in the form of Webamp, a browser-based version of the Winamp that not only emulates the look of Winamp, but the feel of it too.
The sections can be pulled apart and dragged anywhere on the screen. The skins are the exact same ones from the original. The visualizations work. The equalizer equalizes. The animations are exactly what I remember.
We are so back.
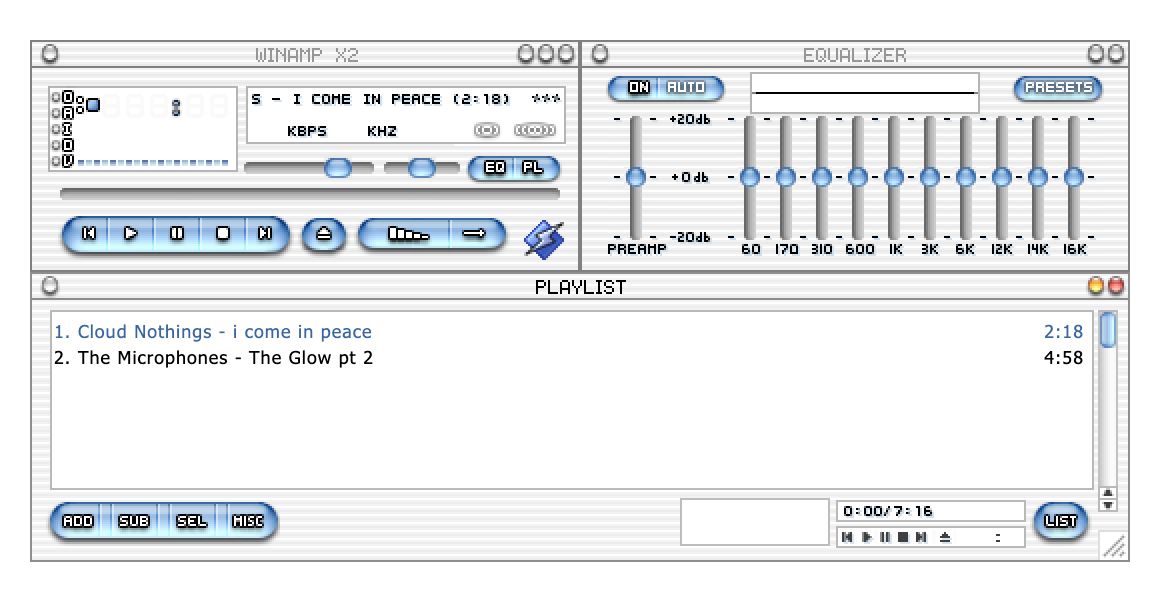
Customizing my Webamp layout
When I made my return to domain / personal blog hosting and ownership, implementing Webamp was a no-brainer. This thing is a part of me as much as my bangs are.
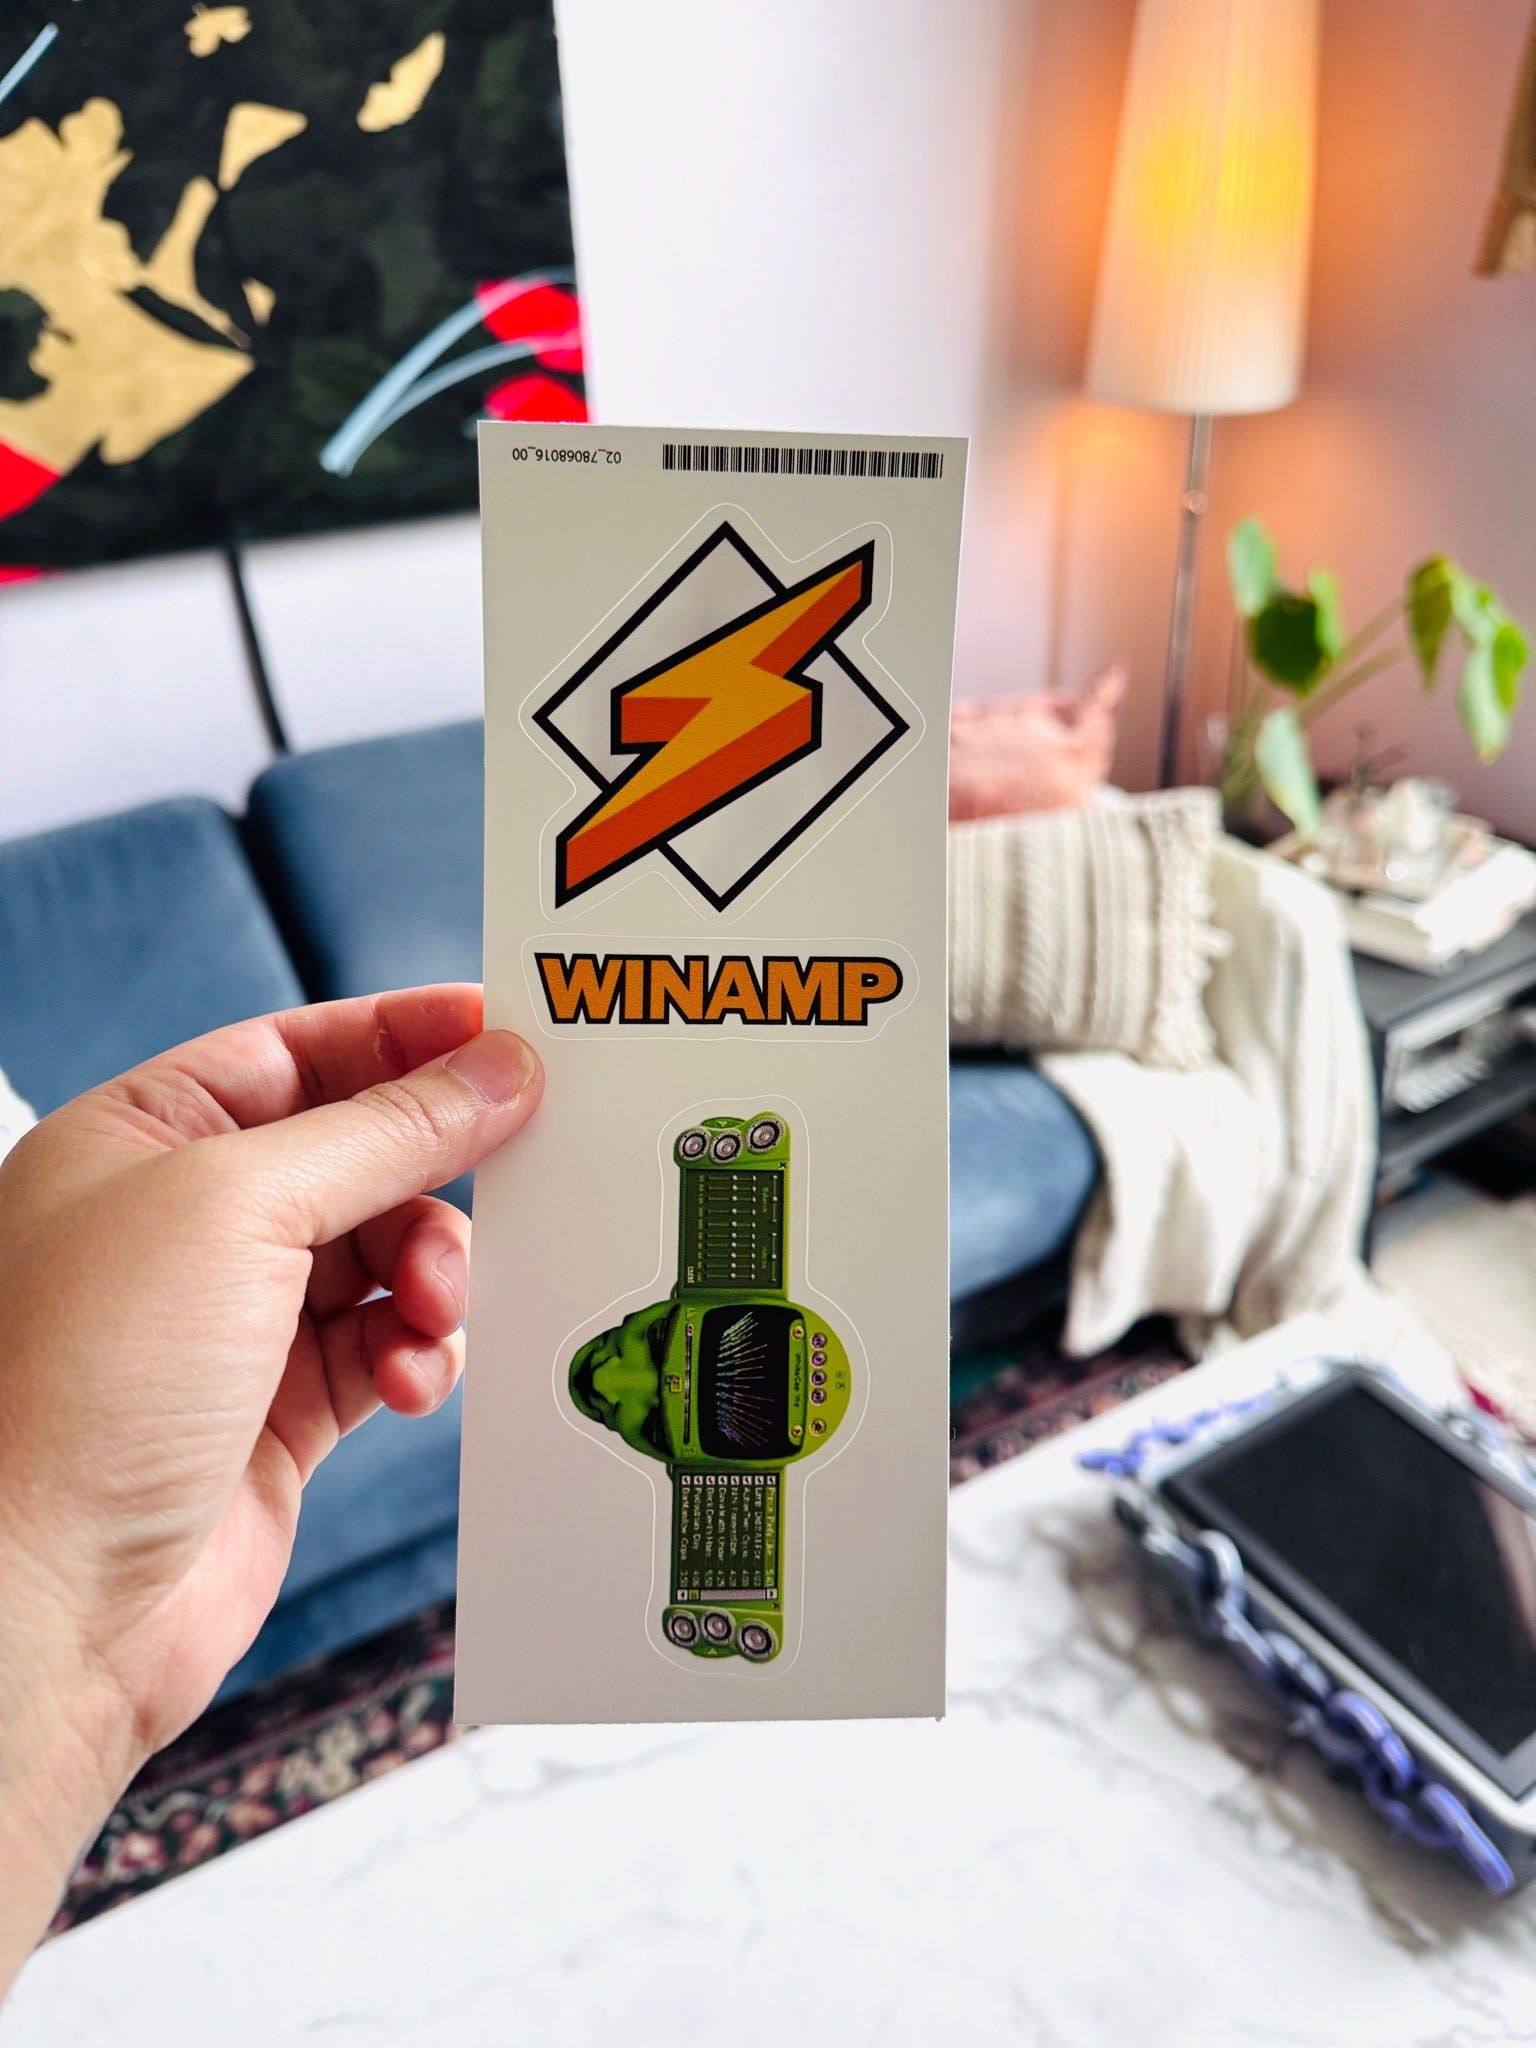
Waking the Beast
Now that I know that Webamp exists, the next order of business was getting it onto my site.
There are two options:
As an emulated browser experience: Install Webamp to your site and allow users to drag and drop songs to play.
As your own embedded player: Embed Webamp onto your site preloaded with songs of your choosing.
The documentation covers option 1 and makes little mention of option 2. The doc also wants you to install Webamp as a package rather than through a CDN, which is my preferred choice every time. A CDN option is mentioned, but not provided explicitly in this documentation.
I eventually found a guide by Dokode that uses CDN approach for Option 1 and finally looks like something I can achieve in a few seconds as opposed to a few minutes.
Dokode’s guide puts everything in a single flat file, including songs as an array:
const webamp = new Webamp({
    // Optional.
    initialTracks: [
        {
            metaData: {
                artist: "Artist",
                title: "Title",
            },
            url: "URL TO SONG .mp3",
        }, {
            metaData: {
                artist: "Artist",
                title: "Title",
            },
            url: "URL TO SONG .mp3",
        },
        {
            metaData: {
                artist: "Artist",
                title: "Title",
            },
            url: "URL TO SONG .mp3",
        },
      ],
    initialSkin: {
        url: "URL TO SKIN .WSZ"
    },
});
Simple and sweet. But we can do better.
Upgrading that Same Beast
The array provided by Dokode is as straightforward as it gets. Each song is an item in the array and the user provides the Title and the Artist for each.
Set a skin by setting initialSkin url to the path of your preferred skin. You’ll have to download it from the Skin Museum and upload it to your server first.
As much as I appreciate the simplicity and straightforwardness of this code, the fact that the array lives with the embed code is not ideal for me. Neither is the fact that the full URL has to be provided for each song rather than just its path — this is because the tutorial is meant specifically for Neocities users who cannot use Neocities hosted files for Webamp. Users need to upload songs elsewhere and provide the full URL instead.
That won’t be our problem.
Our problem is that this code opens up a lot of room for human error. Ugly character? GGs. Missing bracket? Also GGs. Missing commas? It was nice knowing you.
We can alleviate all of those concerns by creating a frontend uploader that not only allows us to add songs, but remove them too.
The changes:
Step 1:
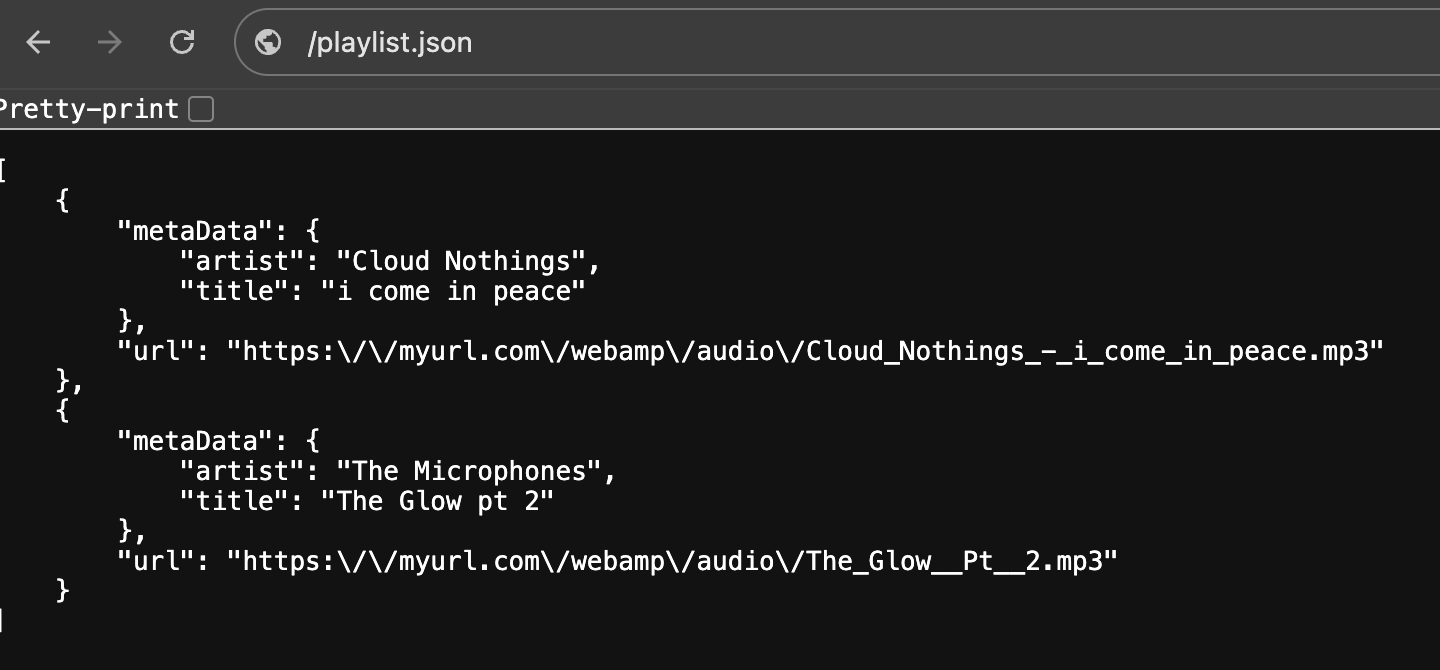
Move the array out of the embed code and into its own json file (playlist.json) — this is nice because other users who opt for a json file of songs can easily move or trade whole playlists for other instances quickly. The uploader will write and format each song to the json file:
Step 2:
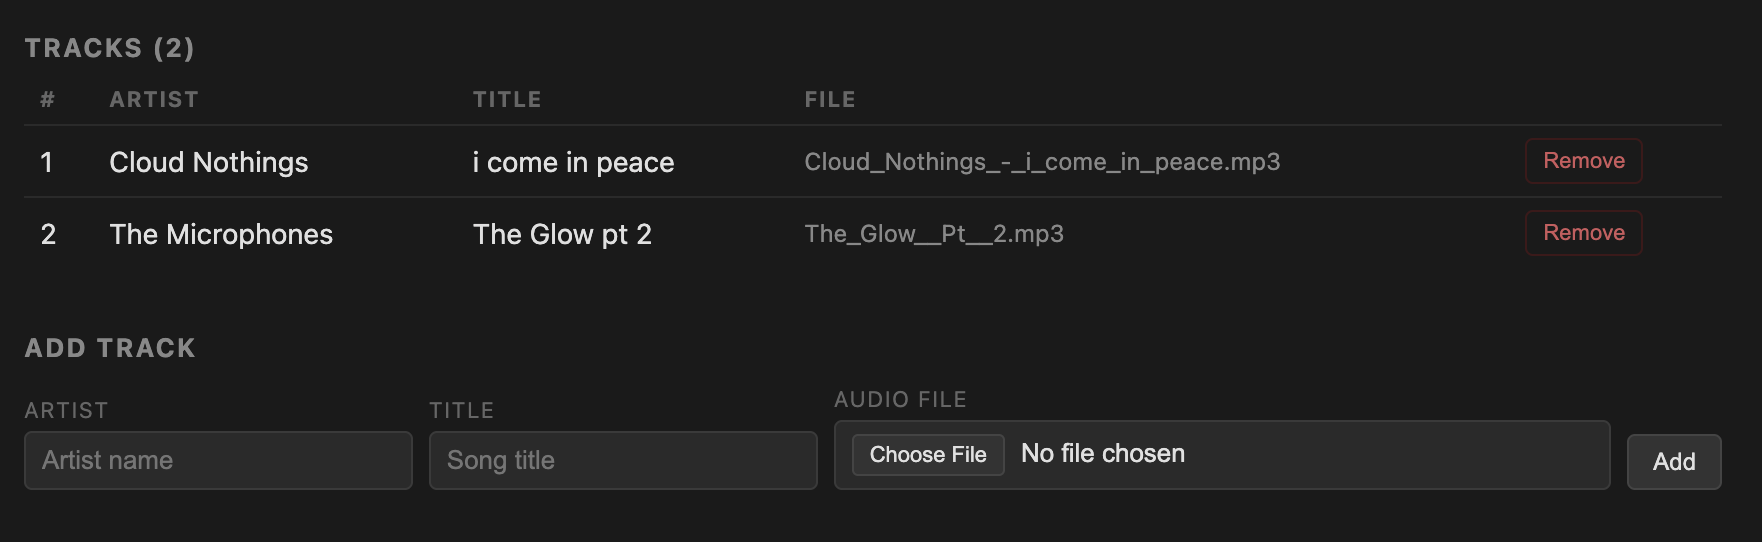
Create a user-facing uploader in PHP that presents each array item as a row and each attribute in the array as a field:
Step 3:
Set song URLs with a base URL rather than the full path: and set a desired folder as the location of your songs (/audio)

Step 4:
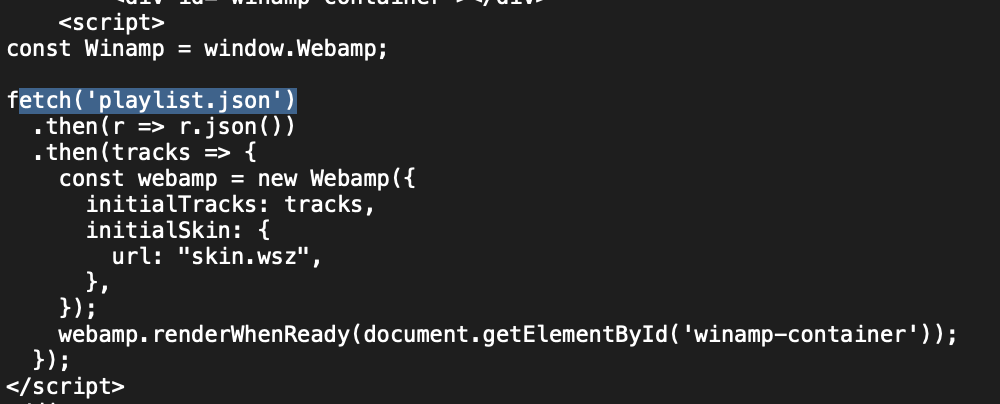
Tell Webamp to fetch playlist.json to populate songs:
The Result
I can navigate to a specific URL in my browser to upload songs to my Webamp using a frontend graphic interface that cuts down on code editing and user errors:
Try it
Everything mentioned here, including Dokode’s original tutorial, has been zipped up and packaged for you to unleash on your server:
README: installation instructions
skin.wsz: Starter skin for you to test the reference URL in index.html under intialSkin. Download more from the museum and change the URL as needed to use your own favorite skin.
/audio: directory for your songs
edit.php: The page that allows you to add and remove songs. Replace YOURURL.com in this file with your own
playlist.json: The array of songs
index.html: User-facing embed/preview
Tips:
When embedding the skin onto any site, iframe it onto the page to override the absolute positioning in index.html
Lock down edit.php using a password on your server so only you can add and remove songs. There’s many ways to do this, choose your favorite or what works for you.